Rofolia is a self-hosted collaborative database/spreadsheet hybrid
Rofolia Demo Walkthrough
You can try Rofolia through the demo at https://demo.rofolia.com or in your own installation if you followed the installation guide.
When you open Rofolia for the first time, you'll need to sign-up for an account. Once the sign-up is completed you'll end up on your profile page. Click "Create base" to go to your first base and first table.
In your base you can create tables and rows and columns in the tables. To get started we will import an example data set. Click on the orange "Demo" button and fill your table with demo data. The demo data is a collection of 9k rows of data about power stations in Europe.
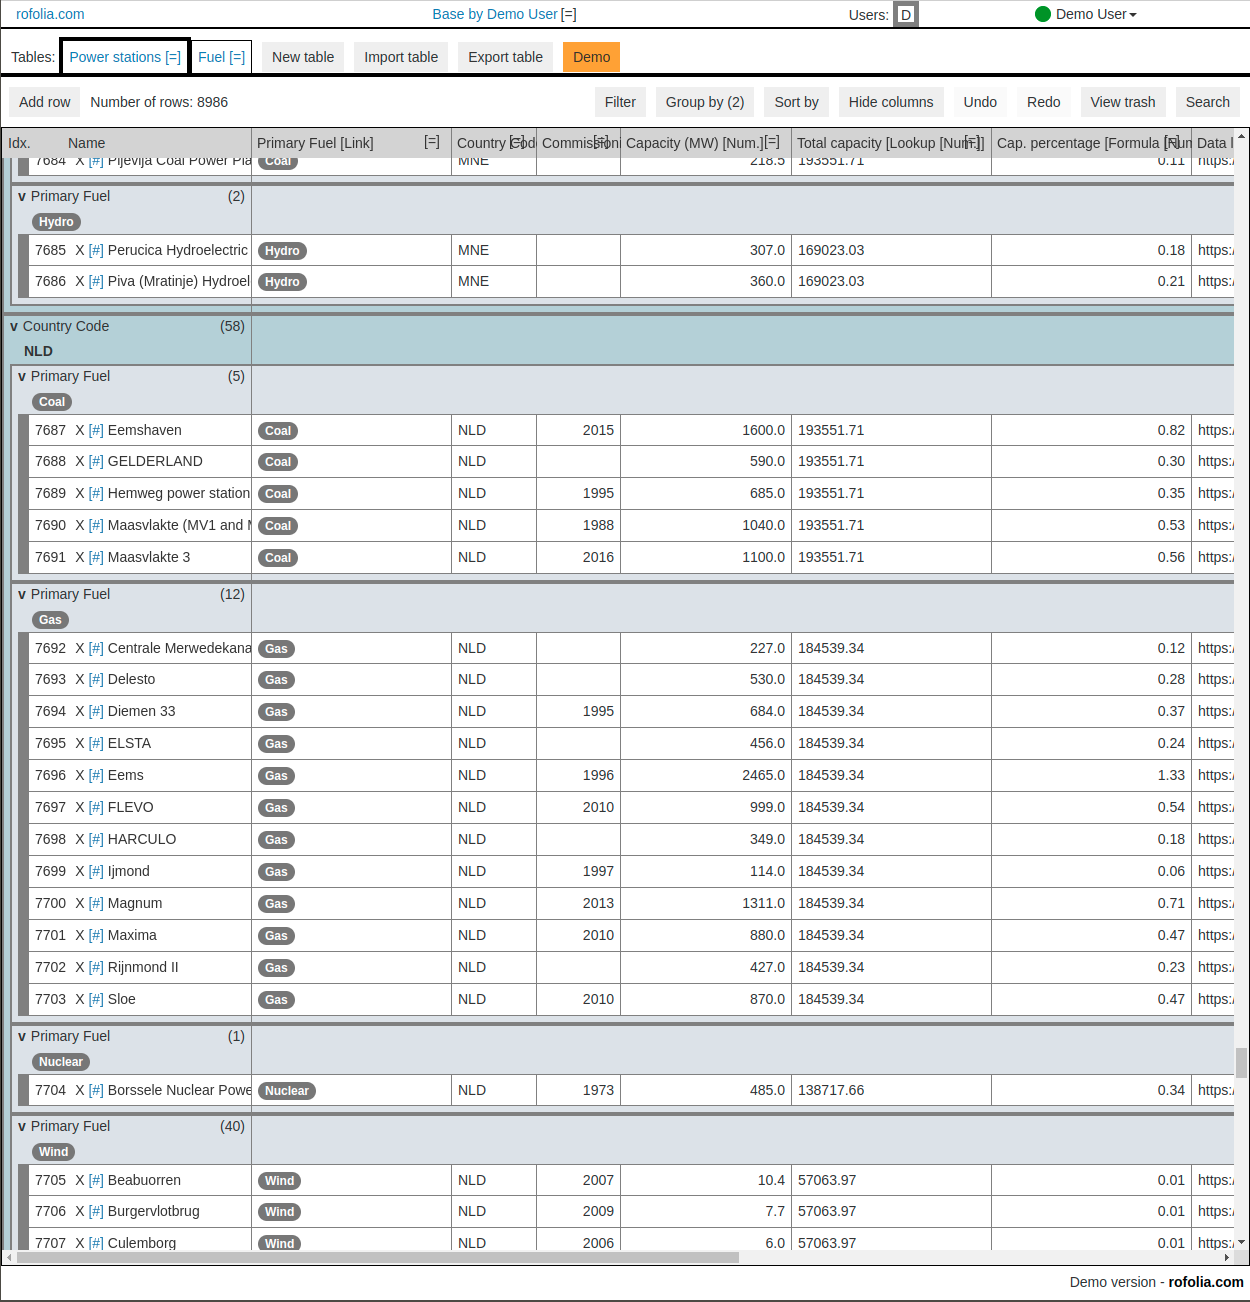
First we'll group the data by 'Country' and 'Primary Fuel'. Click on the "Group by" menu and add the 'Country' and 'Primary Fuel' fields.
 The data grouped by "Country Code" and "Primary fuel"
Click on the blue "[#]" at the start of a row opens the view for a single record. It shows that for the imported data all the fields in the table are of type "String". By using the "[=]" icon in the header of each column, this type can be changed. For instance the "Capacity (MW)" column should be of type "Number" & "Decimal".
The most advance column type is that of a link between records. To try this feature we first need a second table. Create a new table using the "New Table" button, and call it "Fuel". This table will have a record for each type of fuel in the dataset. Now we can change the column type of the 'Primary fuel' column to a link. Open the column config menu with "[=]" and select "Link to other record(s)" and the 'Fuel' table. This will create a new record for each fuel type in the column and a two-way link between both tables.
 Links between the records in the Demo and Fuel table
Lets edit some data in our table. For instance find the record named 'GELDERLAND' and change its name to lowercase, you can use the "Search" feature for this. If you want to see the real time collaboration support in action, you can open your base in another window and see the data change as you type. When you want to collaborate with other users, you can send them an invite link to your base. You can create invite links through the "[=]" menu next to the name of your base at the top of the table.
The next two features that we will try out are "Lookup" values for linked records and "Formula"'s
For linked records you can show values from all the linked records from the other table in a column. For example we can show all the capacities per fuel type in the 'Fuel' table. Click the "+" icon to create a new column. As the column type select "Lookup", link as "Link to <Your first table>" and the 'Capacity (MW)' column.
Finally there's the Formula column type. We'll calculate the total capacity per type of fuel. Create a new column with the "Formula" type and as input the lookup column with the capacities we just created. For the function choose SUM. If you change a capacity value in the table or add or remove a link, then the lookup and formula will automatically be updated.
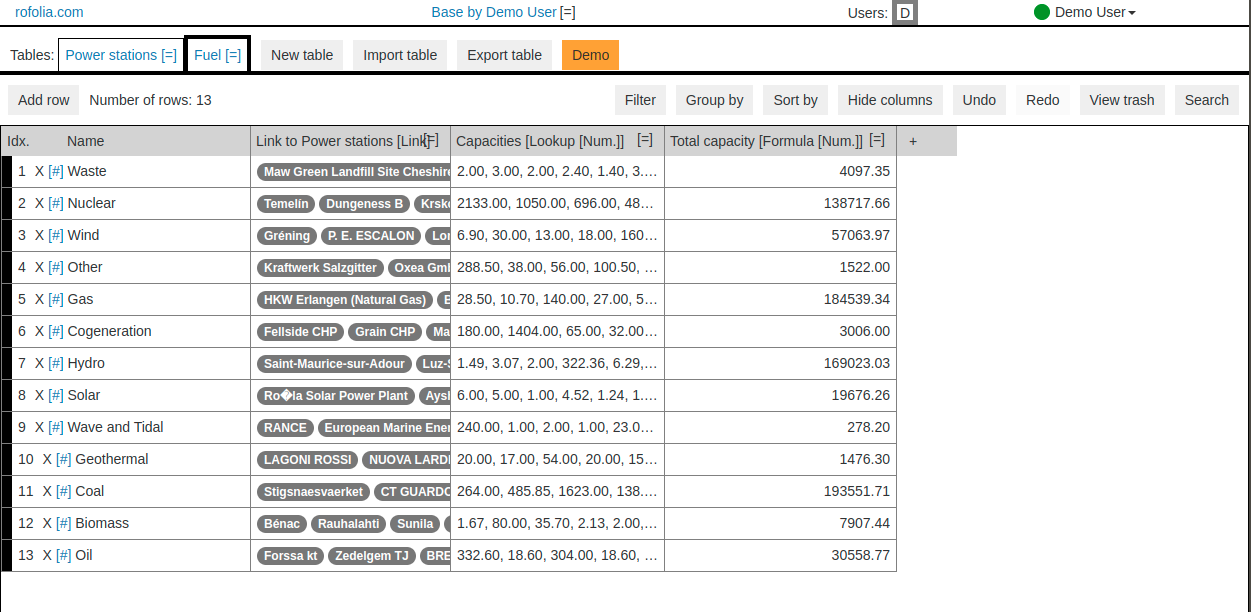 Values lookup from linked records and a formula applied to each row
The final feature is the API access to your base. The link to your API documentation is in the menu of you base, on the top of the page. You can create an API key on you profile page, which you will find through your user menu in the top right corner of the page.
That's it! You now know all the features of Rofolia to start working with your own data.